
Before reading this post, I just wanted to put a reminder for people that I take donations. I don’t run ads on this site because they’re more annoying than they’re worth and so your support is truly appreciated.
Being a full time student with a job, it can be hard to find the time for this and donations would let it become more of a priority so I can reduce my work hours and do this instead. During the current exam season I can’t guarantee I’ll have any time for this if I continue working as much as I do now.
I also highly recommend taking a look through the Vocabulary section since I’m told it’s super useful for those who have looked through it and it doesn’t seem like most people do!
Now for the post 🙂
Removing body hair can take a super long time. While some methods are superior to others, there’s always a proper way to do things at home. This post isn’t going to cover anything done at an esthetician’s office in any detail other than preparation for your appointment.

Let’s start with listing what you can do at home.
- Shaving
- Waxing Strips
- Sugaring
- Hard wax
- Tweezing
- Epilating
- Trimming
- Depilatory cream
What you get done at the clinic is mainly going to be
- Laser / IPL
- Electrolysis
For laser all you need to do in advance is shave and clean the area. Do not apply any creams over the area other than a numbing cream if you need it. Do not tweeze or wax for 3 weeks in advance of a laser treatment because the laser will not be able to target those hairs. ONLY SHAVE prior to treatments.
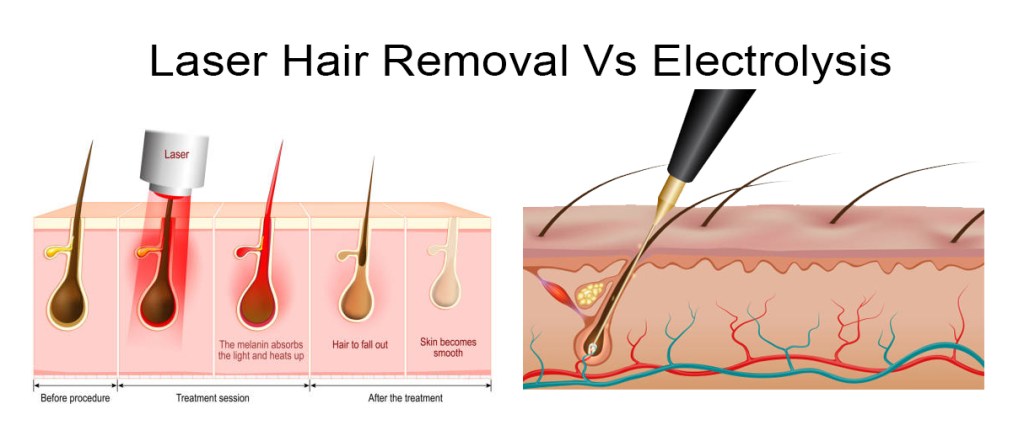
Electrolysis is different in that you actually don’t want to do anything for the area. Leave the hair completely alone and just clean the area with soap or a cleanser. Letting the hair grow out is important so the electrologist can see it. You can shave in between sessions but you should let the hair grow out for at least 1-2 weeks depending on how long you can tolerate the session to be. Electrolysis also does not target vellus hair (peach fuzz) and you shouldn’t be removing this anyway! The hair structure from vellus hair provides structure to your skin so it doesn’t appear as ‘loose’ so if it bothers you, shave it after targeting the thicker hair.
This is why I always recommend doing facial electrolysis before anything else in your transition as it can be a very lengthy process. Between laser and electrolysis I did about 1.5 years of monthly laser treatments and I am at 2 years for electrolysis! Don’t wait on this if you can afford to!
Let’s explain why this is by explaining the structure and cycle of a hair follicle! Most of my information is going to be condensed info from dermatologists so I apologize if I get anything wrong.
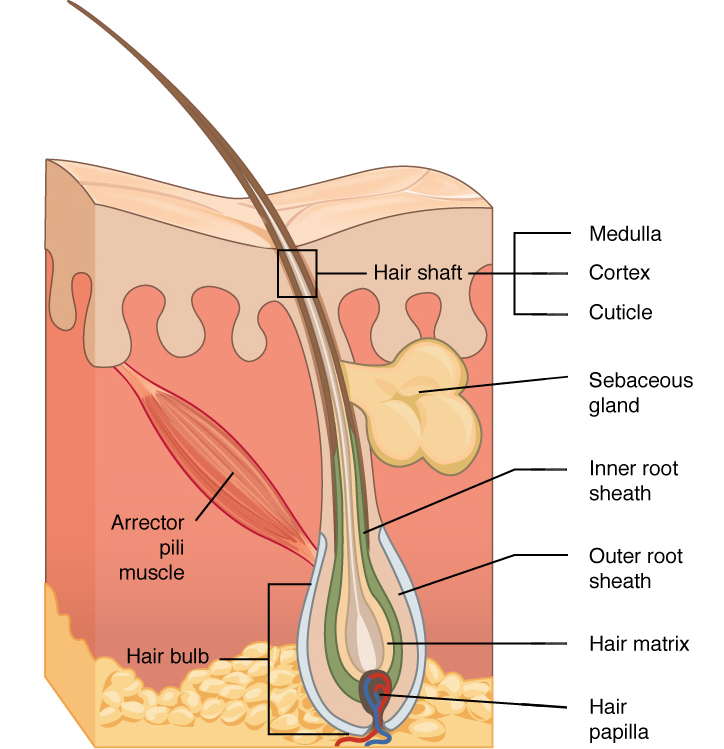
Source Image: Lumen-Learning
For keeping things simple, the hair has 3 main components
- The hair shaft, the length of the actual hair and what you see on the surface
- The hair root, the bottom of the hair shaft where the hair grows from
- The hair bulb, the source of the root that allows hair to grow
Most hair removal techniques are targeting the hair shaft (like with shaving) or the hair’s roots (like with waxing). Electrolysis is the main exception with the current trying to directly zap the hair bulb.
When you take hair out by the root it grows back far slower than when you cut it at the shaft like with shaving. This is because the hair has to completely regenerate instead of just continuing to grow.
Hair also grows in a particular direction so take note of that when the hair is long enough to tell! Typically the direction is always towards the ground when you are standing, with exceptions to this rule being the upper chest and face.
The hair has 4 cycles of hair growth and for body hair it works a bit differently. Most of the time the hair is spent in the growth phase. For laser treatments it is important for the hair to return back into the growth phase so the melanin of the hair’s root can be targeted by the laser, but for all methods at home, it doesn’t matter as precisely just do it when the hair re-appears and is a suitable length for your method.

Source Image: Ulike.com
- Growing (anagen) 5 years
- The hair connected to the hair bulb and root grows
- Transition (Catagen) 4 weeks
- The hair starts being pushed away from the hair bulb and grows slowly at the root
- Resting (Telogen) 3-4 months
- The hair is disconnected from the hair bulb but remains at the root
- Shedding (Exogen)
- The hair is slowly getting pushed out of the follicle and a new hair grows from the bulb.
And then the growth phase again and it repeats.
Now that we understand the hair follicle let’s go over ingrown hair which you are bound to encounter at some point.

Ingrown hair is when you have hair not growing out of your follicle properly. This can be caused by it growing backwards, sideways, or into your skin. This is often fixed through exfoliating over time rather than tweezing it out as the skin will naturally try and push out the hair to the correct position, shedding the hair clogging the hair follicle. Sometimes a hair will peek out only for it to grow back into your skin, forming a ∩ shape, these are ok to tweeze out to normal if there is no skin blocking the hair at the surface.
You shouldn’t try to scrape out an ingrown hair on your own because it can lead to scarring. I have certainly not followed this rule and as a result here are a few of the scars.
Sometimes they can end up raised and feel like a permanent bump on your skin, other times it just looks like discoloration. While they might not seem like much, overtime they add up. What was once pristine skin free of any blemishes is now more akin to the moon and its craters.
Folliculitis is often confused for ingrown hair because they usually go hand in hand but folliculitis is just an inflamed hair follicle, the hair may still be growing normally but the follicle is inflamed. This is usually because of irritating the skin or bacteria getting into the follicle. Just keep the area clean and moisturize and it should go away on its own after a few days. Obviously see a doctor if it worsens.

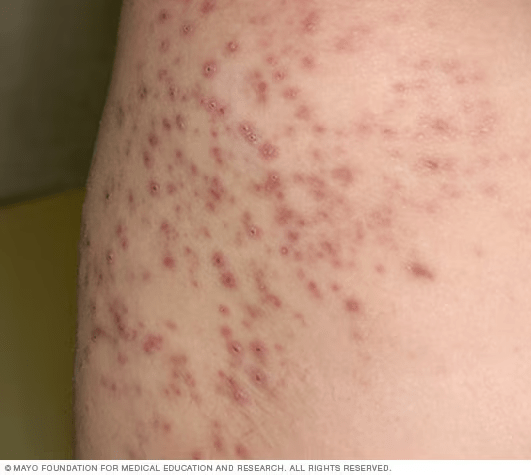
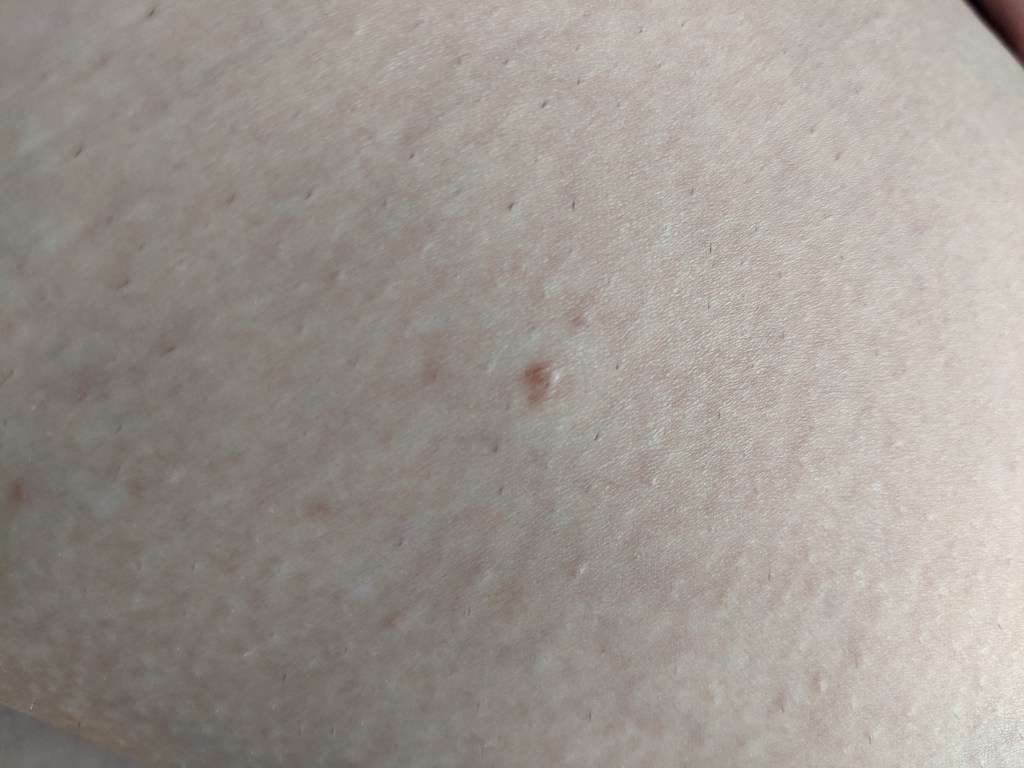
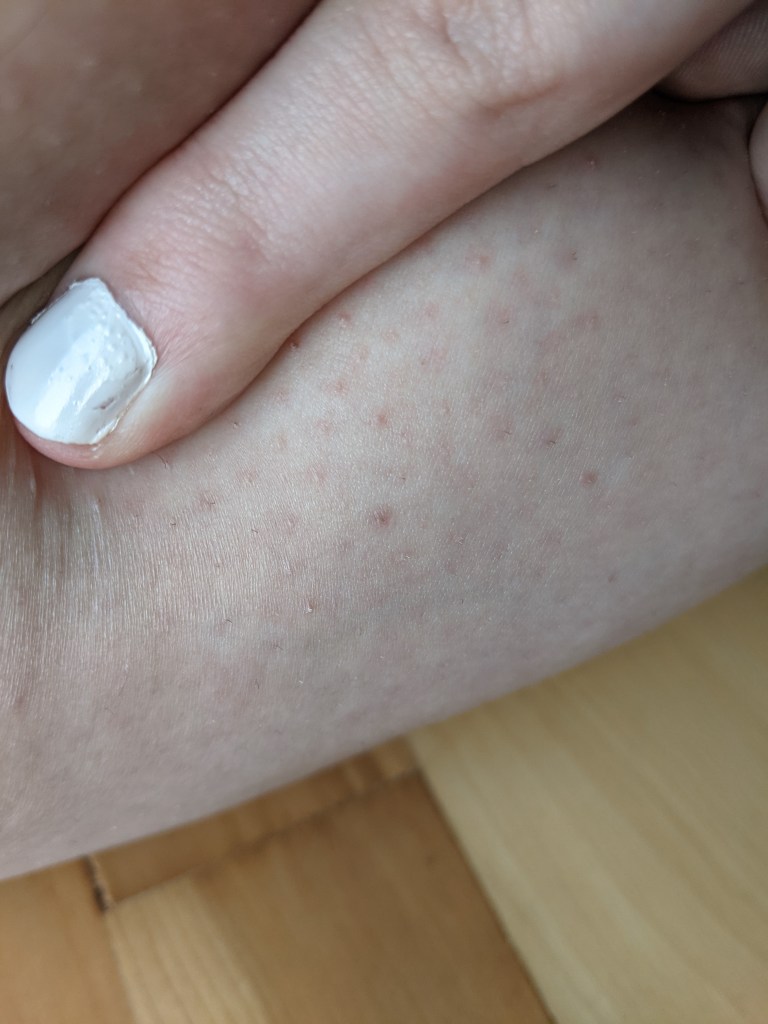
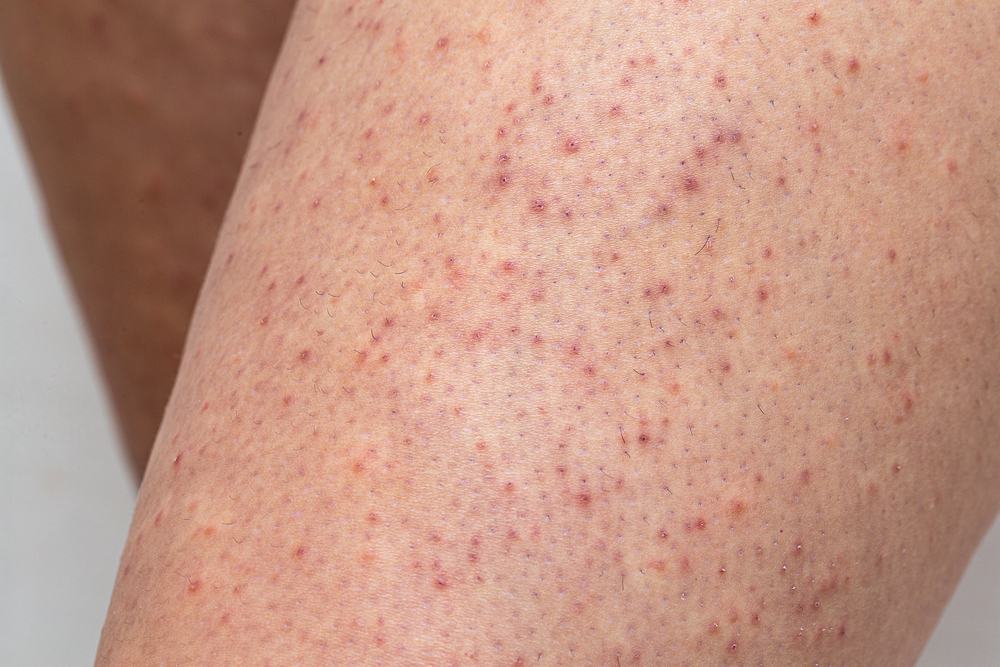
Many of us may also experience something called Keratosis Pilaris which is excess keratin (skin) building up inside the hair follicle, causing bumps on the skin and inflamed hair follicles that look ingrown. Exfoliating and moisturizing ESPECIALLY AFTER REMOVING HAIR is the best way to avoid this. This may start happening only once you start HRT as losing the testosterone can cause weird stuff to your skin and this is one of them, so don’t be too alarmed as it only affects the appearance of your skin.

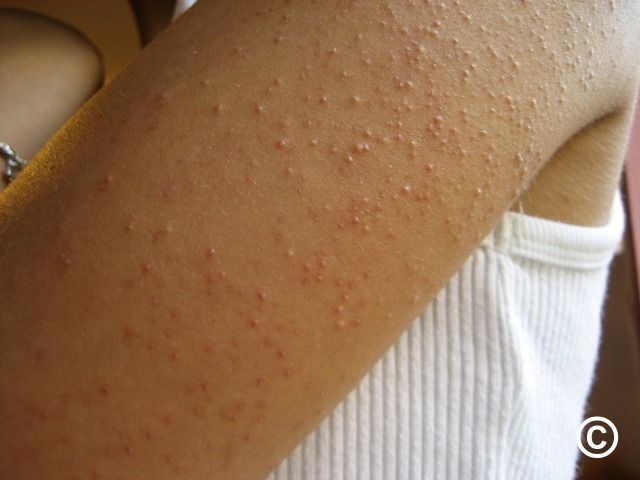
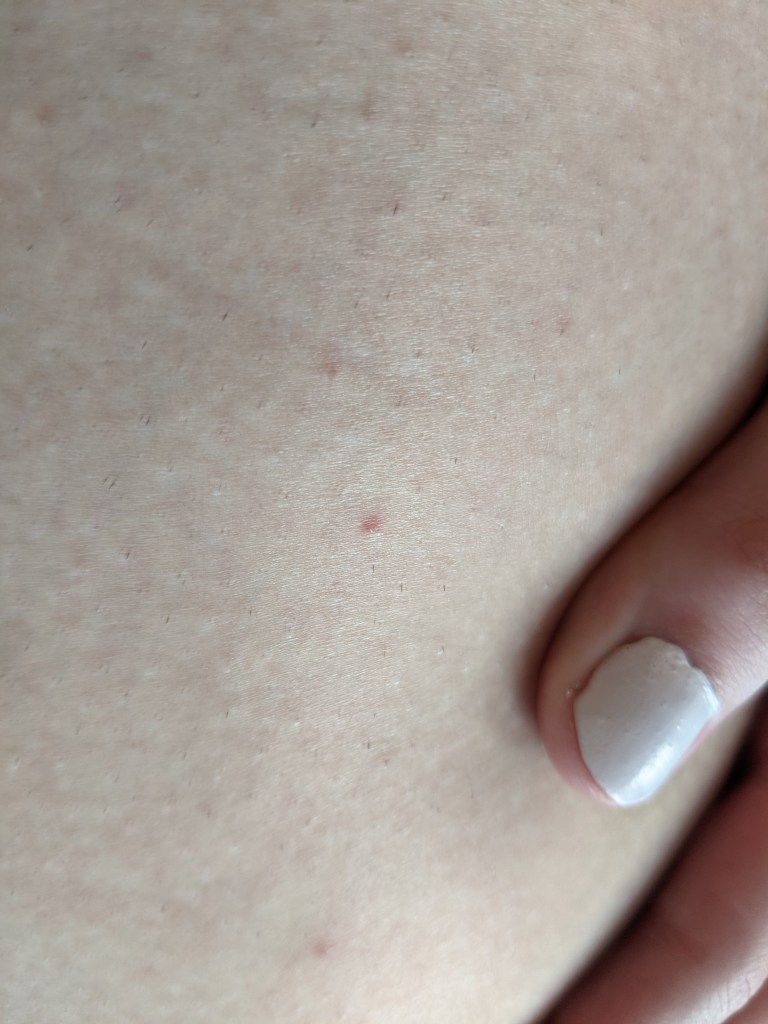
Generally speaking, the excess keratin can be tweezed out very carefully if it is at the surface and there is no inflammation. If you can’t succeed within like 15 seconds of trying it probably isn’t ready quite yet, so just continue exfoliating and moisturizing.
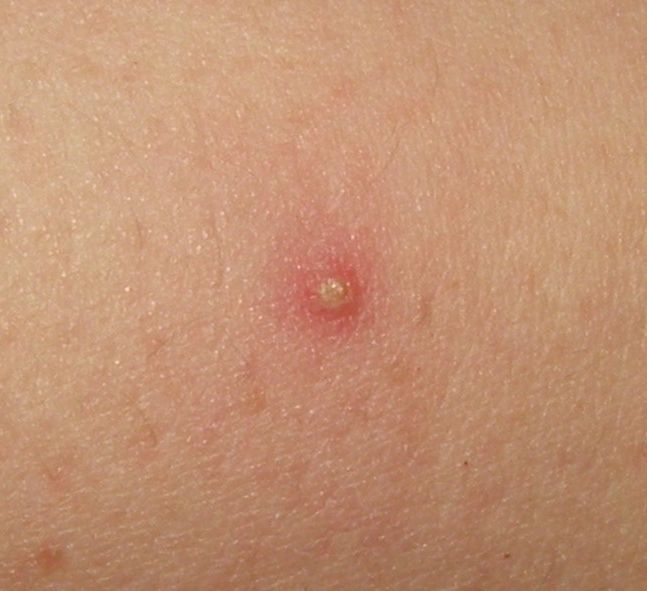
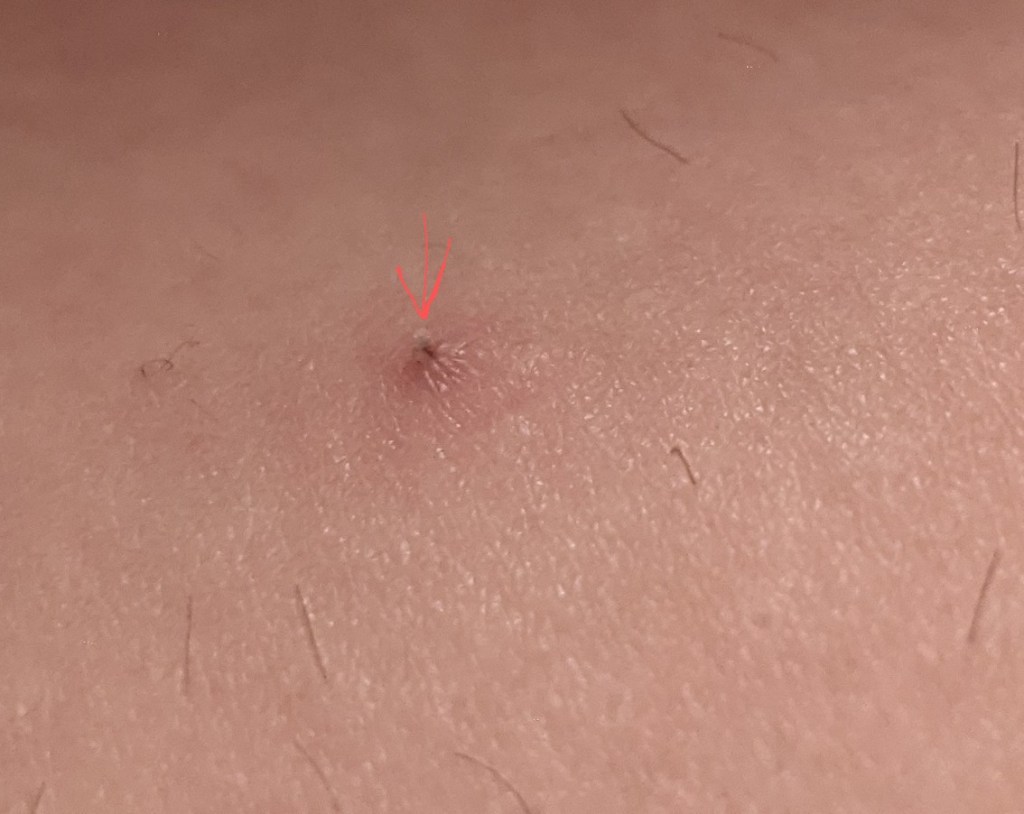
This is an example of what it might look like, as you can see there seems to be a bit of skin peeking out of the hair follicle in the inflamed area. Afterward from pulling that skin which was clogging the follicle out a bit by using freshly disinfected tweezers (but not pulling out the hair) you can see how the skin has built up around the hair itself and the hair is actually much longer beneath the surface. The hair follicle may bleed a little bit so make sure you clean it and moisturize after to protect it! Again I don’t recommend doing this because it can lead to scarring.

Now lets get to the removal methods!
- Shaving
Shaving is the most common form of hair removal for the body. You take a razor, and shave in the direction of hair growth. Prior to shaving you should exfoliate your skin either physically or with a chemical exfoliant, and apply a moisturizing medium like shaving cream, coconut oil or even hair conditioner evenly across the area. Shaving counts as physical exfoliation so there’s no real need to exfoliate after, but you will have to moisturize as with basically every method.
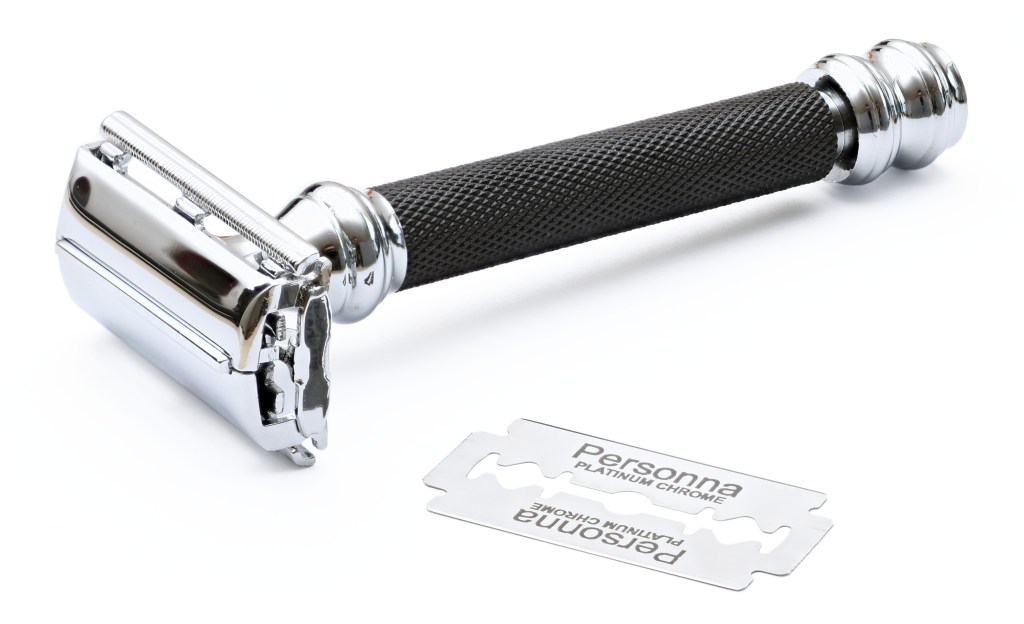
It is also important to note that women’s razors are bad. Do not use them. The more blades a razor has the closer the shave is, but that also means a much higher chance of ingrown hairs. I highly recommend using a double edged razor because blades are incredibly cheap, meaning you can use a new blade every time you shave and they’re more environmentally friendly since they’re only made of metal. It will take some getting used to using a double edged razor but they are much better. Let the weight of your handle do the work, don’t press it into your skin because you will end up cutting your skin, it should glide across. A shaving cream helps protect your skin significantly while shaving. If you don’t like shaving cream I recommend coconut oil, and some people use a small amount of hair conditioner as a substitute.
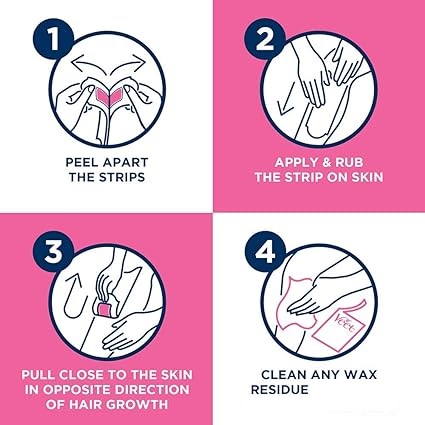
- Waxing Strips
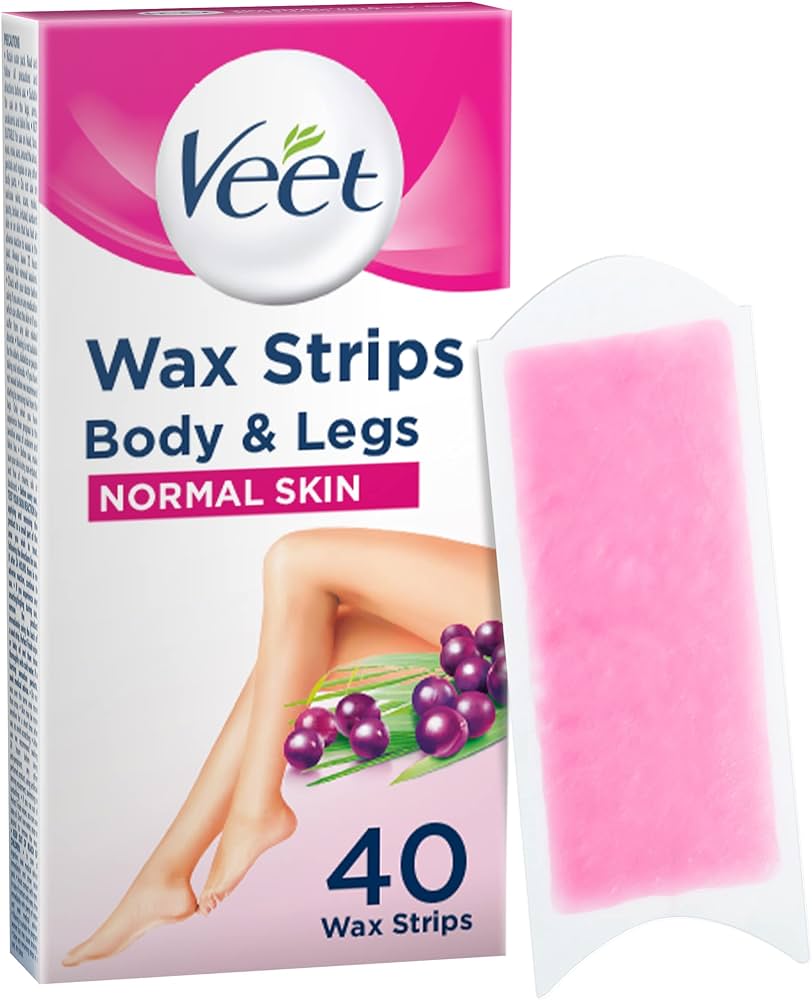
This method rips out the hair from the root in big areas. This is much more time efficient than most other methods once it becomes a habit as it only needs to be done about once per month and is just generally a faster process. Pull the strips in
Because you are pulling by the root you should have smoother skin than if you shaved as there won’t be any stubble. It will be more irritating for your skin and there is a higher chance of ingrown hairs if aftercare is not followed well. Make sure you exfoliate your skin after using the wax strips while removing any remaining residue and then moisturize. Some oils, such as olive oil, do a good job of breaking down the residue.
- Sugaring
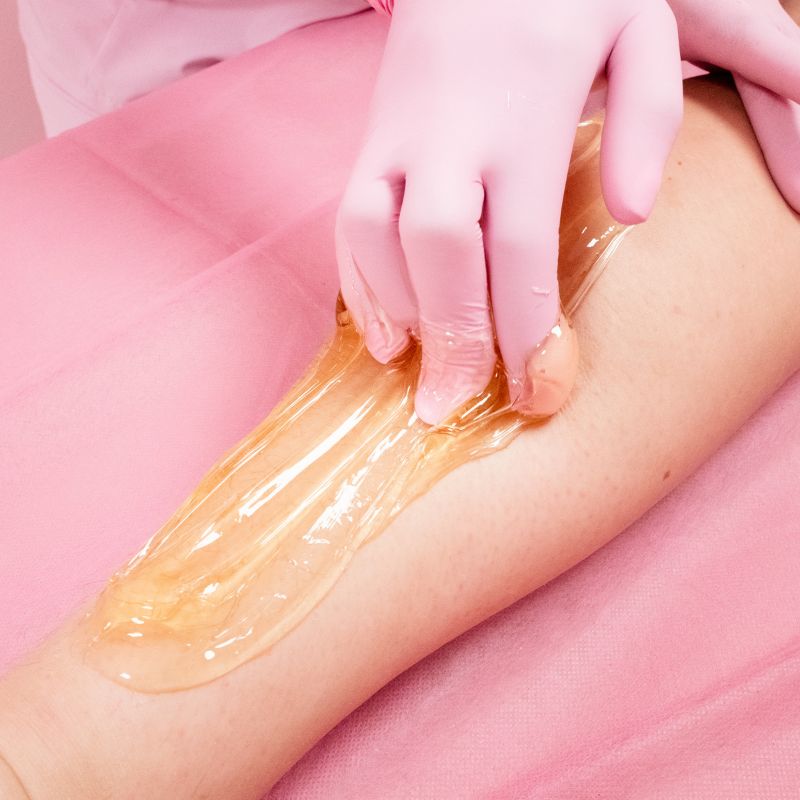
Sugaring is very similar in concept to waxing but is often seen as less painful! You also do essentially the exact opposite instructions as waxing which means you apply the sugaring paste against the natural hair growth direction and then you pull that off with the natural direction of hair growth.
This is also a natural and more affordable option since you can use many ingredients you have at home! The most common ‘recipe’ for sugaring paste that I’ve seen is a mix of sugar, water, and lemon juice.
- Hard wax

Hard wax is a more effective way of waxing. Melting hot wax beads and then spreading it onto the area of hair, ripping it off once it has cooled down and solidified around the hair a bit.
It ends up being more effective than wax strips because of how it surrounds and binds to each hair compared to simple wax strips. You will need something to heat up the wax so it melts and something to apply it that you can dispose of or wash off the residue.
Apply the paste with the direction of hair growth and pull it off in the direction opposite of hair growth.
- Tweezing
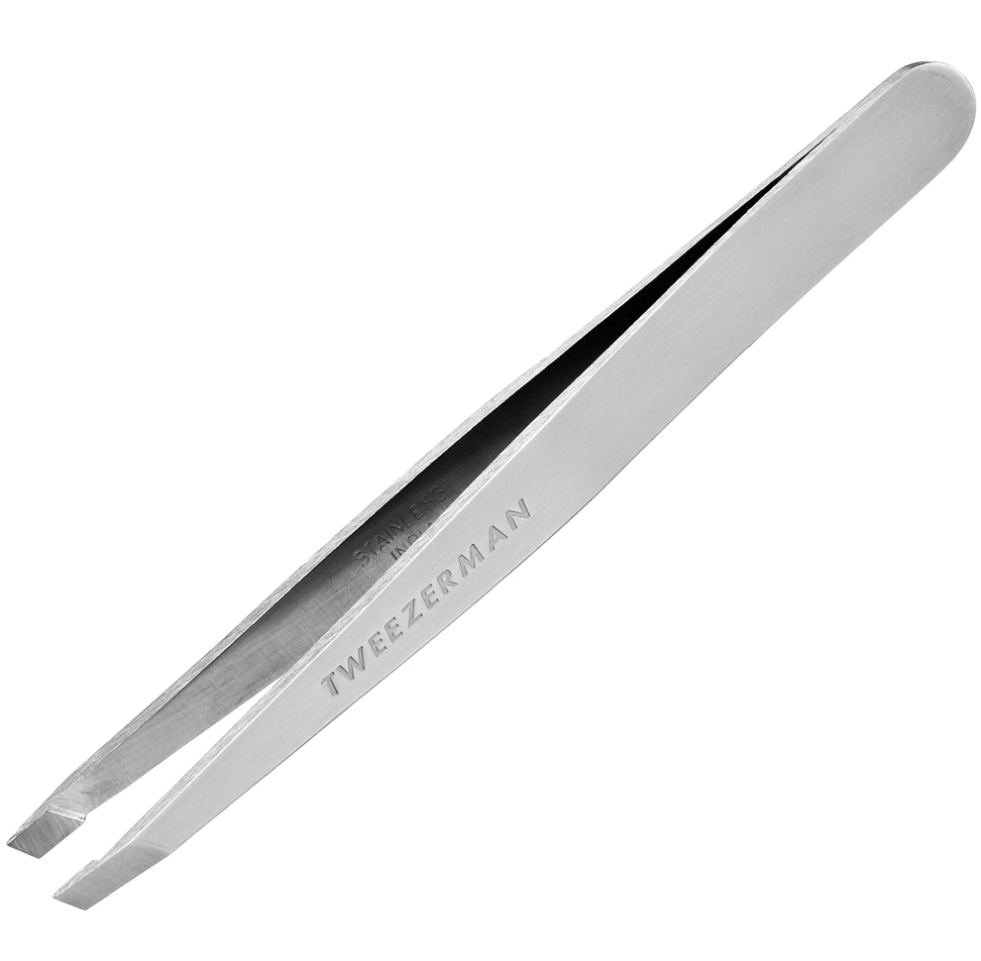
Tweezing is simply using tweezers to pluck out hair one by one. This can be good for removing easily accessible ingrown hair, or small areas like your eyebrows.
Make sure you have a tight enough grip to get the hair by the root!
- Epilating

Epilating is using an epilator to remove hair quickly by the root. This has the same effect as waxing however an epilator isn’t a one time use thing. It is however, far more painful than waxing.
Your hair should also have hair be less than 5mm long to avoid the hair being long enough to break apart instead of being pulled out. So in other words, shave about 5 days to a week before epilating, that’s the length you want.
Use the epilating in the opposite direction of hair growth while pulling on your skin so it’s tight to make sure it doesn’t get pinched by the mechanical teeth.
Moisturize when done.
- Trimming

This is my personally preferred method of hair removal for my body. This is because with the right trimmer you can get nearly the same results as shaving (with the right trimmer) with practically 0 irritation or ingrown hairs after.
Trimmers work by having blades move side to side that cut the hair. It also is what works best on longer hair so for someone like me who does this about every 2 weeks, it’s what is the easiest.
Just make sure you moisturize after.
- Depilatory cream

Depilatory cream works through a chemical reaction with the hair to break down the hair. This results in a very smooth result, smoother than shaving since it penetrates the follicle slightly, while not removing hair at the root.
This won’t work on every person’s hair and is the most irritable method for some people. Because it is a chemical reaction that burns off the hair, there’s a chance it can chemically burn your skin as well if you have sensitive skin or leave it on for too long.
Once done thoroughly wash the area with soap and water and apply a soothing plain moisturizer to not irritate the skin further.
No recap this time because you should be careful!
All I can say is experiment with what options are available to you, and don’t stick to a single method for every part of your body.
Your face and sensitive areas can and probably should use a different method than what you use for legs and chest.

Leave a comment